
Nothing beats the aroma of freshly roasted coffee beans filling your kitchen. It’s bold, rich, and alive with energy—just like the people who drink it. At Aerial Resupply Coffee, we’re all about empowering you to own your coffee experience from bean to brew. Whether you’re a first-timer or a caffeine veteran, roasting your own coffee at home is easier—and more rewarding—than you might think.
In this guide, we’ll show you how to roast coffee beans at home, the gear you’ll need, and why it’s one of the most satisfying ways to level up your morning ritual. Let’s get your mission started.
Why Roast Coffee at Home?
Roasting coffee beans at home isn’t just about saving a trip to the store—it’s about taking control. You decide the flavor, the freshness, and the roast level. Here’s why thousands of coffee lovers (and a few of us caffeine commandos) have made the switch:
- Freshness: Store-bought beans can be weeks or months old before you brew them. Roasting at home means you’re drinking coffee that’s truly fresh off the fire.
- Flavor & Aroma: Roasting releases complex oils and compounds, unlocking your beans’ full potential. Your kitchen becomes your own personal roastery.
- Health Benefits: Coffee beans are loaded with antioxidants. Controlling your roast ensures you preserve those nutrients while customizing your caffeine experience.
- Creative Freedom: Want a dark roast like our 15W40 Italian Roast? Or something light and citrusy like Lifeline Light Roast? You call the shots.
What You’ll Need to Roast Coffee Beans
Before you start your first home roast, gather the following essentials:
- Coffee Roaster: This can be a specialized home roaster or even a simple skillet or popcorn popper for beginners.
- Green Coffee Beans: Unroasted beans are available online or from your local roaster. Start small so you can experiment with roast levels.
- Cooling Rack: Crucial for quickly and evenly cooling your beans after roasting.
- Stirring Tool: A wooden spoon or heat-safe spatula will do the trick.
- Timer: To keep track of your roast progress down to the second.
Pro Tip: Always roast in a well-ventilated area. The process produces smoke, especially with darker roasts. (We’ve all tripped the smoke alarm once—it’s part of the fun.)
How to Roast Coffee Beans at Home (Step-by-Step)
Step 1: Prepare Your Green Coffee Beans
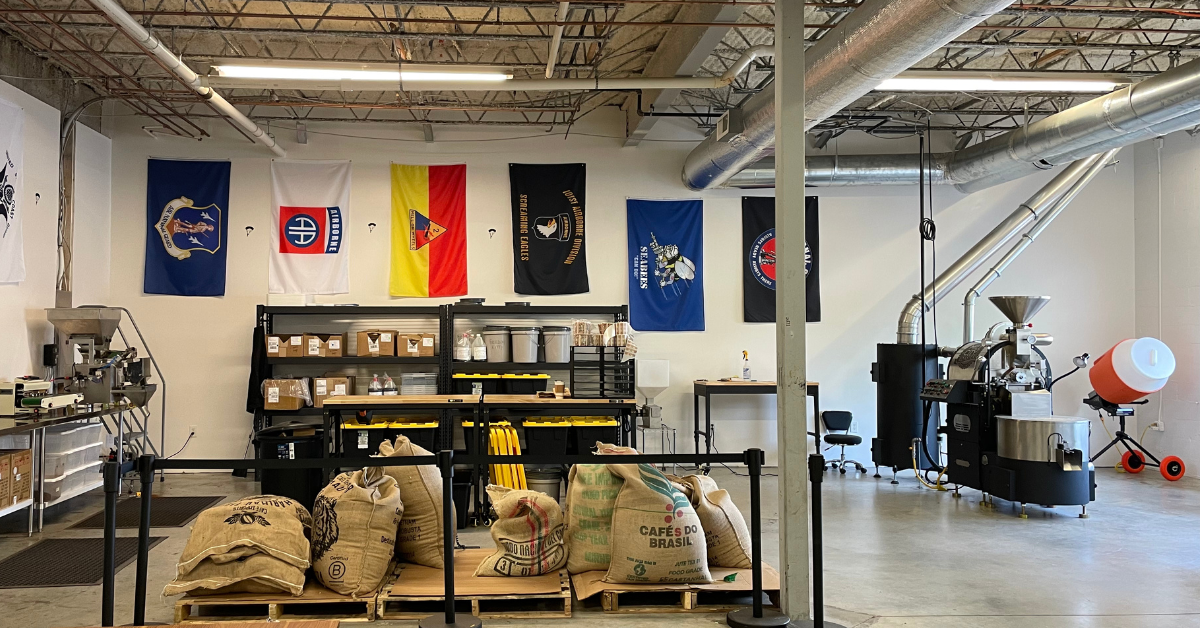
Start with high-quality green beans. At Aerial Resupply Coffee, we source beans from Colombia, Brazil, and beyond—regions known for their rich, balanced flavor profiles. Measure out your desired amount and preheat your roaster or pan over medium heat.
Step 2: Prep Your Gear
Before you fire up, double-check your tools:
- Green coffee beans
- Roaster or skillet
- Cooling rack or baking sheet
- Stirring utensil
- Timer
Once you’ve got your setup dialed, you’re ready to roll.
Step 3: Add the Beans
Add your green beans to the heated roaster or pan in an even layer. If using an electric roaster, follow the manufacturer’s fill guidelines. The key is even heat distribution—crowding the beans leads to uneven roasting.
Step 4: Stir, Stir, Stir
Keep those beans moving. Stirring ensures that all sides roast evenly and prevents scorching. You’ll start to see the beans shift in color—from green to yellow, then tan, and eventually brown.
Step 5: Listen for the First Crack
This is where the magic happens. After about 5–7 minutes (depending on your setup), you’ll hear a distinct “crack.” That’s the bean’s outer shell splitting as gases expand—a sure sign your roast is underway. This stage typically yields a light roast.
Step 6: Choose Your Roast Level
| Roast Level | Description |
|---|---|
| Light Roast | Bright, acidic, and full of origin flavor. Great for morning clarity missions. |
| Medium Roast | Balanced and versatile. Ideal for those who love our Firewatch Medium Roast. |
| Dark Roast | Bold, smoky, and low-acid. Perfect for fans of 15W40 Dark Roast. |
After the first crack, you can keep roasting to your desired level. A second crack will occur around the 10–12 minute mark—signaling a full-bodied dark roast with deep, caramelized flavors.
Step 7: Remove and Cool
Once your beans hit the perfect roast, remove them immediately and spread them onto a cooling rack or baking sheet. The faster you cool them, the better the flavor retention. Expect them to continue releasing aromatic oils as they rest.
Step 8: Let Them Rest Before Brewing
Freshly roasted beans need to degas—release trapped CO₂—before you brew. Let them rest for 12–24 hours in a breathable container (like a paper bag or vented jar). After that, grind and brew using your favorite method for peak flavor and aroma.
Mission complete. You’ve officially roasted your own coffee beans like a pro.
Ready to Roast with the Best?
Home roasting is fun, but it starts with high-quality beans. That’s where Aerial Resupply Coffee comes in. We’re veteran-owned, mission-driven, and obsessed with roasting the freshest, boldest coffee for America’s hardest-working people.
Whether you’re perfecting your own roast or want to start with expertly crafted blends, explore our Premium Coffee Collection. From the bold MOAB to the smooth Firewatch, every roast is built for excellence—just like the people who drink it.
Final Thoughts
Roasting coffee beans at home gives you the freedom to create your perfect cup—from light and lively to dark and daring. It’s hands-on, aromatic, and deeply satisfying, especially when you know exactly where your beans come from and who roasted them.
So grab your beans, fire up your roaster, and join us in celebrating the craft of coffee. Because at Aerial Resupply Coffee, we believe the mission doesn’t start until the coffee’s brewed.