Scoops of Bliss: Crafting the Perfect Coffee Ice Cream at Home
Hey, Brian here. If you’re anything like me, you love coffee. And you love ice cream. And you especially love coffee ice cream. There’s something magical about the combination of rich, creamy, and cold ice cream with the bold, aromatic, and warm coffee flavor. It’s a match made in heaven.
But have you ever tried making your own coffee ice cream at home? If not, you’re missing out on a whole new level of bliss. Homemade coffee ice cream is not only delicious, but also fun and easy to make. You can customize it to your liking, experiment with different ingredients, and enjoy the satisfaction of creating something from scratch.
But how can you create the perfect coffee ice cream at home? That’s what I’m going to show you in this article. I’ll walk you through the steps, tips, and tricks to craft your own scoops of bliss. Let’s get started.

Selecting Quality Coffee Beans
The first and most important step in making coffee ice cream is choosing the right coffee beans. The quality and flavor of the beans will determine the quality and flavor of the ice cream. You don’t want to use stale, bland, or burnt beans for your ice cream. You want to use fresh, flavorful, and premium beans that will give your ice cream a smooth and complex taste.
Choosing the Right Coffee Blend
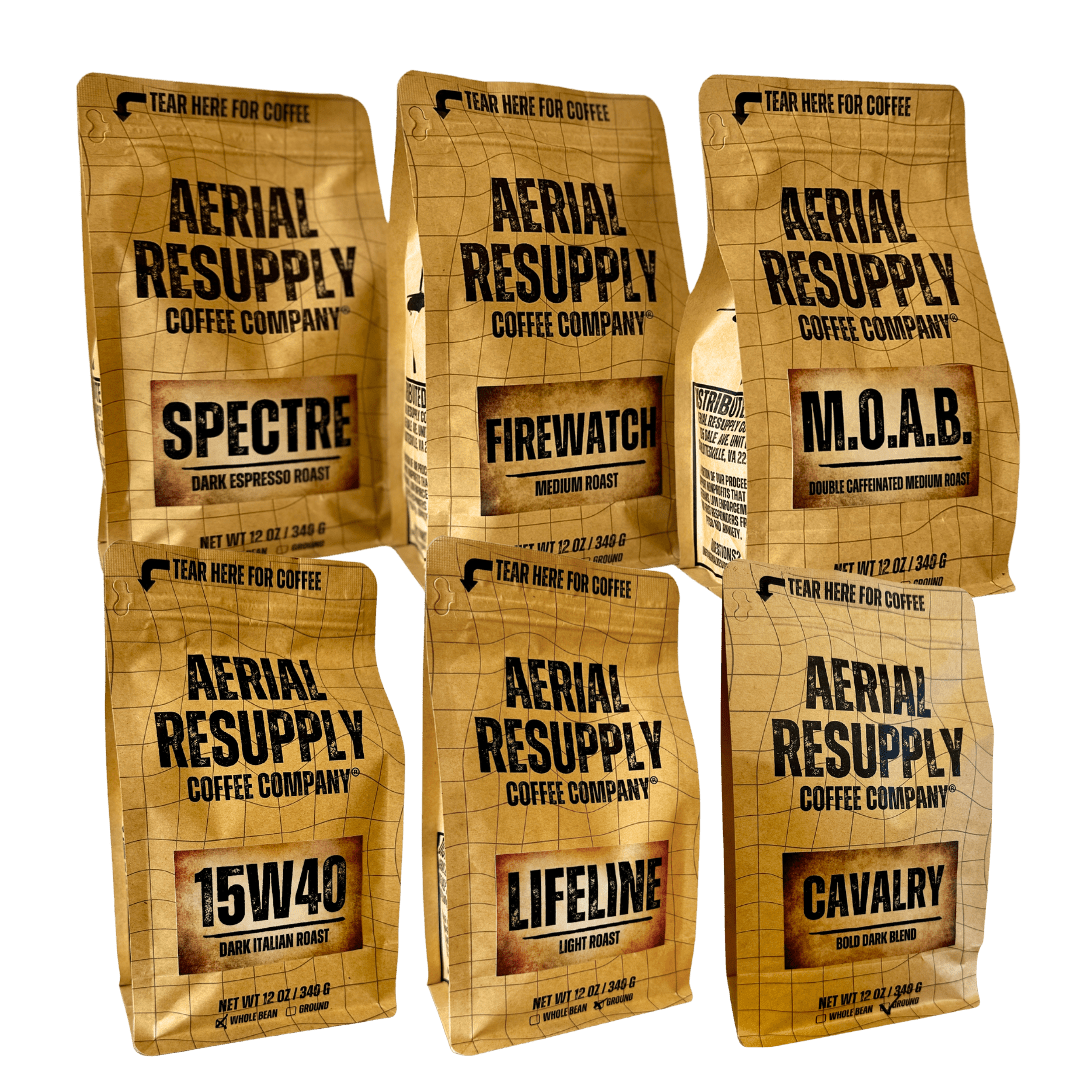
One of the best ways to ensure you get high-quality coffee beans is to buy them from a reputable source, such as Aerial Resupply Coffee. Aerial Resupply Coffee is a veteran-owned coffee brand that offers a variety of blends and roasts to suit your preferences. Whether you like light, medium, or dark roasts, they have something for you.
For coffee ice cream, I recommend using a medium or dark roast blend that has a strong and robust flavor. This will ensure that the coffee flavor stands out in the ice cream and doesn’t get overpowered by the cream and sugar. One of my favorite blends for coffee ice cream is 15W40, which is a dark roast blend with notes of chocolate, caramel, and nuts. It’s smooth, rich, and perfect for ice cream.
Freshly Ground Beans
Another way to enhance the flavor of your coffee ice cream is to use freshly ground beans. Grinding your own beans right before brewing them will release their oils and aromas, which will infuse into the ice cream base. You’ll get a fresher and more intense coffee flavor than using pre-ground beans.
To grind your own beans, you’ll need a coffee grinder. You can use either a blade or a burr grinder, but I prefer a burr grinder because it gives you more control over the grind size and consistency. For coffee ice cream, you’ll want to use a fine grind, similar to what you’d use for espresso. This will allow the coffee to extract faster and stronger, giving you a more concentrated flavor.
Crafting the Ice Cream Base
Once you have your coffee beans ready, it’s time to make the ice cream base. The base is the mixture of cream, milk, sugar, and eggs that will form the foundation of your ice cream. The base is also where you’ll infuse the coffee flavor into the ice cream.
Creating a Coffee Infusion
There are two main methods for creating a coffee infusion for your ice cream base: steeping and boiling. Both methods involve heating the cream and milk with the coffee grounds, but they differ in the amount of time and temperature.
- Steeping: This method involves heating the cream and milk to a simmer, then adding the coffee grounds and letting them steep for about 10 minutes, like making tea. This method produces a milder and smoother coffee flavor, but it also requires more coffee grounds to achieve the same intensity as boiling.
- Boiling: This method involves bringing the cream and milk to a boil, then adding the coffee grounds and boiling them for about 5 minutes, like making Turkish coffee. This method produces a stronger and more bitter coffee flavor, but it also requires less coffee grounds and less time than steeping.
Both methods have their pros and cons, so it’s up to you to decide which one you prefer. I personally like the boiling method because I like a more intense coffee flavor in my ice cream, but you can experiment with both and see what suits your taste buds.
Balancing Sweetness and Bitterness
After you’ve infused the coffee flavor into the cream and milk, you’ll need to strain out the coffee grounds and add the sugar and eggs. The sugar and eggs will not only sweeten and thicken the base, but also balance out the bitterness of the coffee.
The amount of sugar and eggs you’ll need will depend on how strong and bitter your coffee infusion is, as well as how sweet you like your ice cream. A general rule of thumb is to use about 3/4 cup of sugar and 4 egg yolks for every 2 cups of cream and 1 cup of milk. You can adjust this ratio according to your preference, but be careful not to add too much or too little sugar or eggs, as this will affect the texture and flavor of your ice cream.
To make the base, you’ll need to whisk the sugar and eggs together in a bowl, then slowly pour the hot coffee-infused cream and milk into the bowl, whisking constantly. This will temper the eggs and prevent them from scrambling. Then, you’ll need to transfer the mixture back to the saucepan and cook it over low heat, stirring constantly, until it thickens and coats the back of a spoon. This will pasteurize the eggs and create a smooth and creamy custard.

Churning and Freezing Techniques
After you’ve made the base, you’ll need to chill it in the refrigerator for at least 4 hours, or preferably overnight. This will allow the flavors to develop and the base to cool down completely. Then, you’ll be ready to churn and freeze your ice cream.
Using an Ice Cream Maker
The easiest and most effective way to churn and freeze your ice cream is to use an ice cream maker. An ice cream maker is a device that simultaneously freezes and aerates your ice cream, creating a smooth and creamy texture. There are different types of ice cream makers, such as electric, manual, or freezer-bowl, but they all work on the same principle: they use a rotating paddle to stir the ice cream while it freezes in a cold container.
To use an ice cream maker, you’ll need to follow the instructions of your specific model, but the general steps are as follows:
- Pre-freeze the container or bowl of your ice cream maker for at least 24 hours, or according to the manufacturer’s directions.
- Pour the chilled ice cream base into the container or bowl, leaving some room for expansion.
- Turn on the ice cream maker and let it churn for about 20 to 30 minutes, or until the ice cream reaches your desired consistency.
- Transfer the ice cream to a freezer-safe container and freeze it for at least 4 hours, or until firm.
Using an ice cream maker will give you the best results for your coffee ice cream, as it will ensure a smooth and creamy texture, as well as prevent ice crystals from forming.
Hand-Churning Options
If you don’t have an ice cream maker, don’t worry. You can still make coffee ice cream at home using some DIY methods. These methods involve freezing and stirring your ice cream by hand, which will take more time and effort, but will still produce a satisfying result.
Here are some hand-churning options you can try:
- Freezer Bag Method: This method involves putting your ice cream base in a ziplock bag, then putting that bag in another ziplock bag filled with ice and salt. The ice and salt will create a freezing environment for your ice cream, while the bags will allow you to squeeze and massage the ice cream as it freezes. To use this method, you’ll need to do the following:
- Fill a large ziplock bag with ice and add about 1/4 cup of salt. Seal the bag and set it aside.
- Pour the chilled ice cream base into a small ziplock bag and seal it tightly, removing as much air as possible.
- Put the small bag inside the large bag and seal the large bag again.
- Shake, squeeze, and massage the bags for about 15 to 20 minutes, or until the ice cream is frozen and thickened.
- Transfer the ice cream to a freezer-safe container and freeze it for at least 4 hours, or until firm.
- Freezer Container Method: This method involves putting your ice cream base in a freezer-safe container, then freezing and stirring it every 30 minutes until it’s done. This method is simpler than the freezer bag method, but it requires more patience and attention. To use this method, you’ll need to do the following:
- Pour the chilled ice cream base into a freezer-safe container, such as a metal loaf pan or a glass baking dish. Cover the container with plastic wrap or a lid and put it in the freezer.
- After 30 minutes, take out the container and stir the ice cream with a fork, spatula, or whisk, breaking up any ice crystals and incorporating some air. Put the container back in the freezer.
- Repeat this process every 30 minutes for about 2 to 3 hours, or until the ice cream is frozen and thickened to your liking.
- Transfer the ice cream to a freezer-safe container and freeze it for at least 4 hours, or until firm.
Incorporating Mix-Ins and Enhancements
Now that you have your coffee ice cream ready, you can make it even more delicious by adding some mix-ins and enhancements. These are optional, but they can add some texture, contrast, and complexity to your ice cream.
Chocolate, Nuts, or Swirls
One of the most popular and classic mix-ins for coffee ice cream is chocolate. Chocolate and coffee are a match made in heaven, as they complement each other’s flavors and create a rich and decadent combination. You can use any type of chocolate you like, such as dark, milk, or white, and chop it into small pieces or shavings. You can also use chocolate chips, chunks, or curls. You can add the chocolate to the ice cream base before churning, or fold it into the ice cream after churning.
Another great mix-in for coffee ice cream is nuts. Nuts add some crunch and nuttiness to the ice cream, as well as some healthy fats and protein. You can use any nuts you like, such as almonds, walnuts, pecans, or pistachios, and toast them lightly for more flavor. You can chop them into small pieces or leave them whole. You can add the nuts to the ice cream base before churning, or fold them into the ice cream after churning.
A third option for mix-ins is swirls. Swirls are ribbons of sauce or syrup that run through the ice cream, creating a beautiful and tasty effect. You can use any sauce or syrup you like, such as caramel, fudge, butterscotch, or dulce de leche, and drizzle it over the ice cream before freezing, or swirl it into the ice cream after churning.
A Touch of Liqueur
If you want to take your coffee ice cream to the next level, you can add a touch of liqueur to it. Liqueur is an alcoholic beverage that has a sweet and often fruity flavor. It can add some depth and complexity to your ice cream, as well as a subtle kick. You can use any liqueur you like, such as Kahlua, Baileys, Amaretto, or Frangelico, and add it to the ice cream base before churning, or drizzle it over the ice cream before serving. Just be careful not to add too much, as it can affect the freezing and texture of your ice cream. A general rule of thumb is to use about 2 tablespoons of liqueur for every quart of ice cream.
Serving and Presentation
The final step in making coffee ice cream is serving and presenting it. You can enjoy your ice cream as it is, or you can make it more appealing and appetizing by adding some garnishes and drizzles. You can also pair your ice cream with some desserts or beverages to create a complete and satisfying experience.
Garnishing and Drizzling
One of the simplest and easiest ways to garnish your coffee ice cream is to use whipped cream. Whipped cream adds some lightness and sweetness to the ice cream, as well as some contrast in color and texture. You can use store-bought or homemade whipped cream, and pipe it or spoon it over your ice cream. You can also sprinkle some cocoa powder, cinnamon, or nutmeg over the whipped cream for some extra flavor and decoration.
Another way to garnish your coffee ice cream is to use fresh or dried fruits. Fruits add some freshness and tartness to the ice cream, as well as some vitamins and antioxidants. You can use any fruits you like, such as berries, bananas, cherries, or mangoes, and slice them or chop them into small pieces. You can also use dried fruits, such as cranberries, raisins, or apricots, and rehydrate them in some water or juice. You can add the fruits to the ice cream base before churning, or fold them into the ice cream after churning, or simply place them on top of your ice cream.
A third way to garnish your coffee ice cream is to use cookies or wafers. Cookies or wafers add some crunch and sweetness to the ice cream, as well as some variety and fun. You can use any cookies or wafers you like, such as chocolate chip, oatmeal, graham, or vanilla, and break them into small pieces or leave them whole. You can add the cookies or wafers to the ice cream base before churning, or fold them into the ice cream after churning, or simply stick them into your ice cream.
In addition to garnishing your coffee ice cream, you can also drizzle some sauce or syrup over it for some extra flavor and moisture. You can use the same sauce or syrup you used for the swirls, or you can use a different one for some contrast. You can also use honey, maple syrup, or jam for some natural sweetness. You can drizzle the sauce or syrup over your ice cream before serving, or serve it on the side for dipping.
Pairing Suggestions
If you want to make your coffee ice cream even more enjoyable, you can pair it with some desserts or beverages that complement its flavor and texture. Here are some pairing suggestions you can try:
- Brownies: Brownies are a classic and delicious dessert that go well with any ice cream, especially coffee ice cream. The fudgy and chewy texture of the brownies contrasts with the smooth and creamy texture of the ice cream, while the chocolate and coffee flavors enhance each other. You can serve your coffee ice cream with warm or cold brownies, and drizzle some chocolate sauce over them for some extra decadence.
- Cake: Cake is another popular and versatile dessert that pairs well with coffee ice cream. The fluffy and moist texture of the cake contrasts with the smooth and creamy texture of the ice cream, while the cake flavor can vary depending on your preference. You can serve your coffee ice cream with chocolate cake, vanilla cake, carrot cake, or cheesecake, and drizzle some caramel sauce over them for some extra sweetness.
- Pie: Pie is a traditional and comforting dessert that matches well with coffee ice cream. The crusty and flaky texture of the pie contrasts with the smooth and creamy texture of the ice cream, while the pie filling can vary depending on the season and your mood. You can serve your coffee ice cream with apple pie, pumpkin pie, pecan pie, or lemon meringue pie, and drizzle some whipped cream over them for some extra richness.
- Coffee: Coffee is an obvious and perfect beverage to pair with coffee ice cream. The hot and liquid texture of the coffee contrasts with the cold and solid texture of the ice cream, while the coffee flavor intensifies and harmonizes with the ice cream flavor. You can serve your coffee ice cream with black coffee, latte, cappuccino, or espresso, and add some sugar or cream to your coffee if you like.
- Tea: Tea is another great beverage to pair with coffee ice cream. The hot and liquid texture of the tea contrasts with the cold and solid texture of the ice cream, while the tea flavor can vary depending on your preference. You can serve your coffee ice cream with black tea, green tea, herbal tea, or chai tea, and add some honey or lemon to your tea if you like.
Conclusion
Making coffee ice cream at home is a fun and rewarding process that will give you a delicious and satisfying treat. You can customize your ice cream to your liking, using quality coffee beans, fresh ingredients, and creative mix-ins and enhancements. You can also serve and present your ice cream in various ways, pairing it with desserts or beverages that complement its flavor and texture.
I hope you enjoyed this article and learned something new. If you did, please share it with your friends and family, and leave a comment below. I’d love to hear from you.
And if you’re looking for more articles like this, check out The Flightline Cafe on Aerial Resupply Coffee’s website. It’s a blog where I share my passion for coffee, ice cream, and everything in between. You’ll find recipes, tips, reviews, and more. Here are some of the articles you might like:
- How to Make Cold Brew Coffee at Home
- The Ultimate Guide to Coffee Roasts
- How to Make Affogato: The Perfect Coffee Dessert
And don’t forget to check out Aerial Resupply Coffee’s amazing selection of coffee blends and roasts, such as 15W40, Moab, and Lifeline. They’re all veteran-owned, roasted to order, and delivered to your door in no time. You’ll love the freshness, quality, and flavor of their coffee, and you’ll also support a great cause. Aerial Resupply Coffee donates a portion of their profits to veteran charities, such as Wounded Warrior Project and Fisher House Foundation. So, what are you waiting for? Order your coffee today and enjoy the best coffee ice cream ever.
That’s all for now, folks. I hope you enjoyed this article and learned something new. If you have any questions, comments, or feedback, feel free to leave them below. I’d love to hear from you.
This is Brian, signing off. Stay cool and caffeinated, my friends. 😎☕🍨